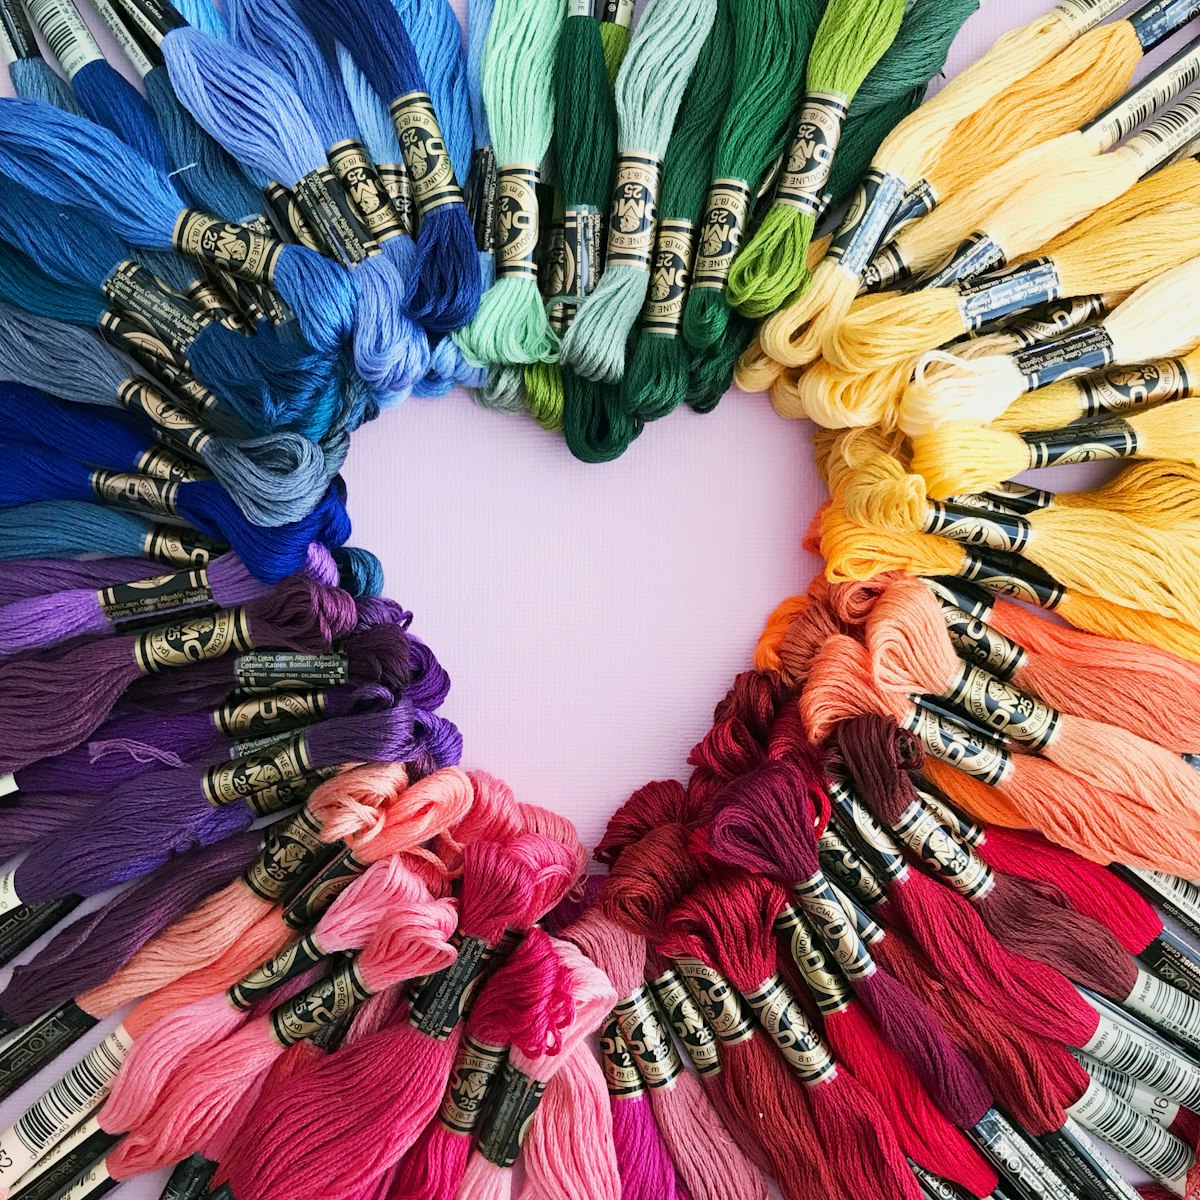
Embroidery is an ancient craft that has been passed down through generations, and it continues to be a popular art form today. With the right tools and techniques, anyone can learn to master the art of embroidery and create beautiful, one-of-a-kind pieces. Whether you’re a beginner or an experienced embroiderer looking to improve your skills, these easy steps will help you take your embroidery to the next level.
Step 1: Gather your materials
Before you can start embroidering, you’ll need to gather a few key materials. The most important tool for embroidery is the needle, so make sure you have a variety of sizes and types to choose from. You’ll also need embroidery floss in a range of colors, an embroidery hoop to hold your fabric taut, and fabric to embroider on. Additionally, you may want to invest in a few other tools, such as embroidery scissors, a thimble, and a needle threader, to make the process easier and more enjoyable.
Step 2: Choose a design
Once you have your materials ready, it’s time to choose a design for your embroidery project. You can find a wide variety of patterns and designs online, or you can create your own using a pencil and paper. Start with a simple design, such as a flower or a geometric shape, to practice your embroidery skills. As you gain more experience, you can try more complex designs and experiment with different stitches and techniques.
Step 3: Transfer your design
After you’ve chosen a design, you’ll need to transfer it onto your fabric. There are a few different methods for transferring a design, including tracing it onto the fabric with a pencil or using a transfer pen or pencil. Once your design is transferred, place the fabric in the embroidery hoop and tighten the screw to hold it in place.
Step 4: Thread your needle
Embroidery floss is made up of six strands, but for most embroidery projects, you’ll only need two or three strands at a time. Separate the strands of floss and thread them through the eye of the needle. Make sure the strands are even and then tie a knot at the end of the floss.
Step 5: Start stitching
Now that your fabric is in the hoop and your needle is threaded, it’s time to start stitching. There are many different embroidery stitches to choose from, each with its own unique look and texture. Some of the most common stitches include the backstitch, the running stitch, the satin stitch, and the French knot. Start with a simple stitch, such as the backstitch, and practice it on a scrap piece of fabric before moving on to your project.
Step 6: Practice, practice, practice
Embroidery, like any other art form, takes time and practice to master. Don’t be discouraged if your first few attempts don’t turn out exactly as you’d hoped. Keep practicing your stitches and experimenting with different techniques, and before you know it, you’ll be creating beautiful, intricate embroidery pieces.
Step 7: Experiment with color and texture
One of the best things about embroidery is the wide range of colors and textures you can achieve with different types of floss and stitches. Experiment with different color combinations and thread textures to create unique and eye-catching designs. You can also add beads, sequins, and other embellishments to your embroidery for an extra touch of flair.
Step 8: Take care of your tools
To ensure the longevity of your embroidery materials, make sure to properly care for your tools. Keep your needles sharp by regularly sharpening them with a needle sharpener or emery board. Store your embroidery floss in a cool, dry place to prevent it from becoming tangled or frayed. And always clean and dry your embroidery hoop after each use to prevent it from warping or becoming damaged.
Step 9: Share your work
Once you’ve mastered the art of embroidery and created a few pieces you’re proud of, don’t be afraid to share your work with others. Display your embroidery in your home, give it as a thoughtful gift to a friend or family member, or even sell your pieces at a local craft fair. Embroidery is a beautiful and timeless art form, and sharing your work with others can help inspire and encourage others to take up the craft.
In conclusion, embroidery is a beautiful and rewarding art form that anyone can learn to master with the right tools and techniques. By following these easy steps and practicing regularly, you can take your embroidery skills to the next level and create stunning, one-of-a-kind pieces that you can be proud of. Whether you’re a beginner or an experienced embroiderer, there’s always something new to learn and discover in the world of embroidery. So grab your needle and thread, and start stitching!


