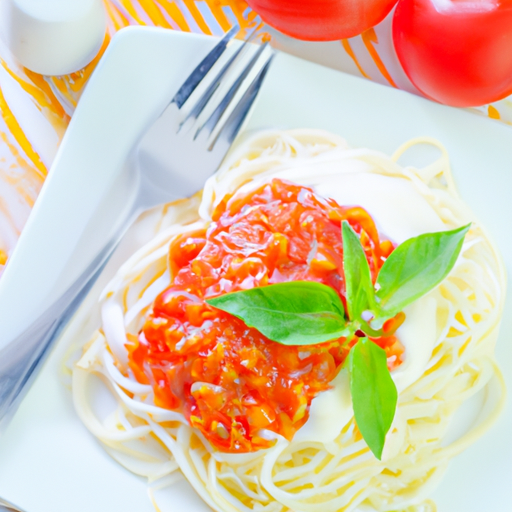
Are you looking for a healthy and delicious alternative to traditional pasta? Look no further than spaghetti squash! This versatile vegetable is not only low in calories and packed with nutrients, but it also makes a great gluten-free, low-carb substitute for pasta. In this step-by-step guide, you’ll learn how to cook perfect spaghetti squash every time, so you can enjoy this tasty and nutritious dish in no time.
Step 1: Choose the Right Squash
The first step to cooking perfect spaghetti squash is to choose the right one. Look for a squash that is firm and heavy for its size, with a vibrant yellow color. Avoid any squash that has soft spots or blemishes, as this may indicate that it is overripe. The size of the squash will depend on how many servings you want to make, but as a general rule, a 3-4 pound squash will yield enough for 4-6 servings.
Step 2: Prepare the Squash
Before you start cooking the squash, you’ll need to prepare it. Begin by preheating your oven to 375°F. Then, using a sharp knife, carefully cut the squash in half lengthwise. Be cautious, as spaghetti squash can be quite tough to cut through. Once the squash is cut in half, use a spoon to scoop out the seeds and any stringy bits from the center. You can discard these or save the seeds for roasting later.
Step 3: Cook the Squash
Now that the squash is prepared, it’s time to cook it. There are a few different methods you can use to cook spaghetti squash, but here’s how to do it in the oven for the best results. Place the squash halves on a baking sheet, cut side down. Add a little bit of water to the pan, just enough to cover the bottom. This will help create steam and keep the squash moist as it cooks.
Cover the squash with foil and bake for 40-50 minutes, or until the flesh is tender and easily pierced with a fork. Cooking time may vary depending on the size of the squash, so keep an eye on it. Once the squash is cooked, remove it from the oven and let it cool for a few minutes before handling.
Step 4: Shred the Squash
Once the squash has cooled enough to handle, use a fork to gently scrape the flesh from the skin. As you do this, you’ll notice that the flesh naturally separates into strands that resemble spaghetti – hence the name! Continue to scrape the flesh until you have removed all of it from the skin. You can now use the shredded squash as a base for a variety of dishes, from simple sides to more complex entrees.
Step 5: Season and Serve
Now that your spaghetti squash is cooked and shredded, it’s time to add some flavor. You can keep it simple by seasoning the squash with a little bit of salt and pepper, or get creative with your favorite herbs and spices. Some popular options include garlic, oregano, basil, and Parmesan cheese. You can also mix in some olive oil or butter for added richness.
Once the squash is seasoned to your liking, it’s ready to serve. You can use it as a base for sauces, meatballs, or sautéed vegetables, or enjoy it on its own as a light and satisfying side dish. Whether you’re following a specific recipe or improvising with whatever you have on hand, spaghetti squash is a versatile ingredient that can be easily customized to suit your taste.
In conclusion, cooking perfect spaghetti squash every time is as easy as following these simple steps. By choosing the right squash, preparing it properly, cooking it to perfection, and seasoning it to your taste, you can enjoy a healthy and delicious alternative to traditional pasta in no time. With its mild flavor and satisfying texture, spaghetti squash is sure to become a staple in your kitchen. So go ahead, give it a try and get creative with your favorite toppings and seasonings – you’ll be amazed at how versatile and satisfying this humble vegetable can be.


